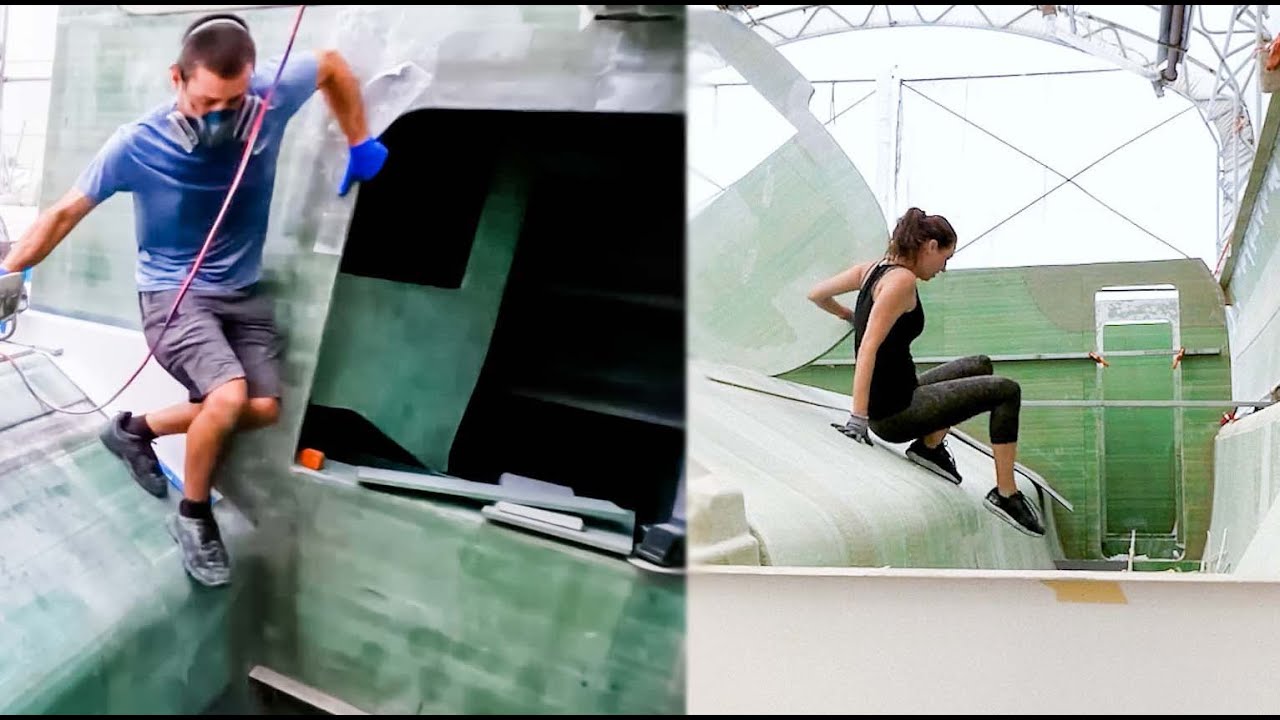
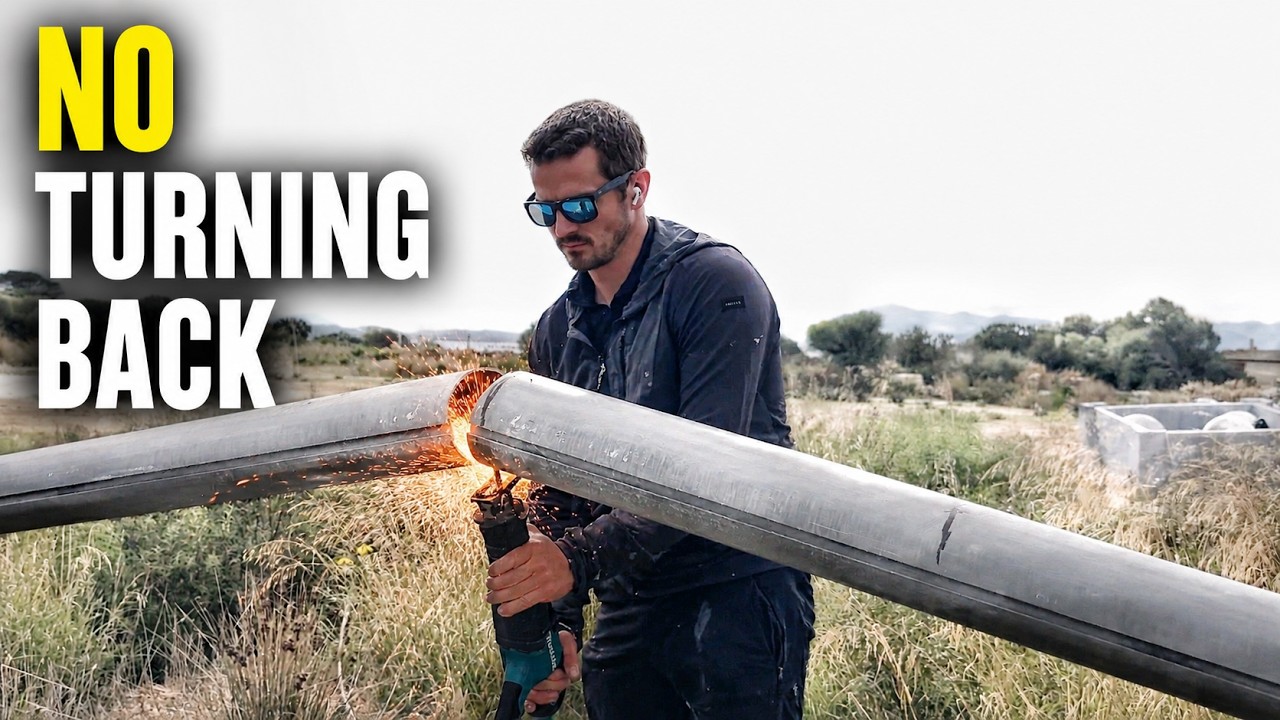
Ne-am întors săptămâna aceasta la lucru pe barca noastră și facem progrese într-un domeniu foarte important – pașii!! ** Dacă doriți să ajutați cu Fish For a Cure, faceți clic aici!! https://www.fishforacure.org/ *** În ultimele 18 luni, de fiecare dată când am vrut să ajungem de la puntea podului în carenă, a trebuit să glisăm în jos pe panoul teșit. Dar asta se oprește acum, când Matt începe să lucreze la cele trei seturi de scări care duc în ambele carcase. Revizuiesc, de asemenea, o actualizare în care vă arăt munca pe care am reușit să o îndeplinesc în ultima vreme cu carenajul și cum m-am îndrăgostit de umplutura ușoară pentru corp 3M, deoarece funcționează și ca o haină de ghidare, spunându-mi unde trebuie să fac. adăugați mai mult umplutură. În cele din urmă, începem să instalăm țevi din PVC pentru a trece eventual prin conducte. Nu chiar prima noastră alegere în materie de produse, dar uneori pur și simplu nu poți obține consumabilele pe care le sperai cu adevărat și trebuie doar să mergi mai departe. Sperăm să vă bucurați! Multă dragoste de la Annapolis! Jessica, Matt și Georgie Link către barca noastră: https://maxcruisemarine.com/max42sc-sailing-catamaran/ Mulțumim FOARTE Patronilor noștri. Acești susținători extraordinari ne ajută să ne menținem pe barcă, echipamentele noastre de cameră la zi și videoclipurile care urmează. Fără patronii noștri, aceste videoclipuri nu ar fi posibile. Pentru a vă înscrie în rândurile Patreon, vă rugăm să vizitați http://www.patreon.com/mjsailing sau Cumpărați-ne o bere prin PayPal! https://www.paypal.me/MJSailing sau Ajutați să contribuiți la construcție cumpărând Lista noastră de dorințe Amazon! https://www.amazon.com/hz/wishlist/ls/2B2BOYEH9THAH?ref_=wl_share Adresa de livrare: Kentmorr Marina 910 Kentmorr Road Stevensville, MD 21666 Vă mulțumim!, Matt și Jessica – Obțineți marfa: https:// mj-sailing.myshopify.com/ Videoclipuri realizate de Jessica, cu Matt și Georgie. 00:00 – Introducere 00:29 – Sunt prea bolnav să lucrez mult, dar iată progresul nostru 01:56 – Schimbarea formei scărilor 03:20 – Schimbarea compușilor de carenare – din nou 04:16 – Trebuie să-mi reduc munca 06:35 – Fish For A Cure 07:42 – Tăierea găurilor pentru conducte 11:30 – Adăugarea unei greutăți mai mari decât ne dorim 16:27 – Folosirea unei nivele cu laser pentru scări 18:23 – Instalarea conductelor noastre din PVC 19:50 – Muzica de închidere: April Showers – Big Girl Dancing With The Devil – Bonkers Beat Club Glitteratti – Fox Morrow Metro – Ealot Pandemonium (Versiune Tribute) – Echipamentul camerei pentru lunile folosit: – Panasonic Lumix GH5 – Microfon pentru pușcă Shure VP83F – https:// amzn.to/2rsIHLL – GoPro Hero8 Bărci anterioare: 1983 Trisalu 37 – aluminiu personalizat, construit în Quebec (Elements of Life) Unde am fost: 2,5 ani refit în Indiantown, Florida; Abacos, Bahamas; St. Barth; St. Maarten; Antigua; Saba; Azore; Irlanda; Scoţia; Norvegia; Anglia 1989 Sabre 34 Targa (Serendipity) Unde am navigat cu ea: SUA – Bahamas – Jamaica – Cuba – Insulele Cayman – Honduras – Guatemala – Belize – Mexic – Bermuda – Azore – Madeira – Insulele Canare – Sint Maarten – BVI – Software de editare USVI: Site-ul Adobe Premier Pro: http://www.mjsailing.com Facebook: http://www.facebook.com/mattandjessicasailing Instagram: https://www.instagram.com/mattandjessicasailing & https://www.instagram.com /mj_wayfaring/
source
Nu mai alunecați în carene! (MJ Sailing – Ep 252)
42 thoughts on “Nu mai alunecați în carene! (MJ Sailing – Ep 252)”
Comments are closed.


for those conduits you coud've got some reinforced hose of similar diameter, lay some packing tape as a demoulding agent, and laminating some glass. 2 layers/wraps would be more than enough to give you a lightweight pipe to protect the wiring.
You might’ve already covered this but no emergency hatch under those stairs?
I almost wanted the bottom stair be almost L shaped – seems like you might want to take the stairs at a slight angle and almost walk up and down starting sideways and then turning the third step to face the opening. . I am now curious about the handholds/grab bars.
5:38 right angle drill attachment
Matt, you may be able to use a 90 degree drill to drive that giant hole saw to fix your access problem. Beg, borrow, or steal one!
You need a cordless angle drill from harbor freight tools, so you won't have to remove the steps.
For lighter PVC pipe, go to a vacuum dealer. In house vacuum systems all use sch 20 or 10 PVC. EDIT: Warning, requires special fitting as for some reason($$$) they do not use regular sizes. EDIT 2: All vacuum piping be it Rigid OR Flexible is Smooth inside. Or you could just go to an electrical supply and use in wall Steel Stud piping for wire runs.
Right angle drill will fit. Rent one.
Perhaps you both would consider introducing some solid wood elements for enrichment of the interior.
I can not wait until this masterpiece hits the water.. You guys do a damn good job for explaining the 'why's' the 'how to's' and etc. Keep it up.
Why did you opt for plumbing PVC vrs Electrical ? The component materials are far more Adaptive and Fure proof.!?
Fairing is looking great Jess !
So much work, but things are shaping up!
I'm disappointed. I've just finished binge watching all your videos – right from the very first one. Now what do I do? I have to wait a week for each new one, instead of just clicking on the next one. To say that they are compelling viewing (for me) is an understatement. I will have to live with my disappointment.
As well, that hybrid setup on your catamaran with one diesel and one electric motor is the only sailboat setup that I have ever wanted. With a normal diesel tank and sunshine the range of that thing is mind boggling. I want, I want, I want one.
IMPORTANT TIP …..BTW you don't have to remove that step, you can purchase an adaptor that goes on your drill that enables you to drill at a ninety degree angle. And these adaptors are cheap and handy to have around to do jobs that are in tight areas. obtw Your clamping those pvc joints aren't they glued? anyway's looking good. looking good. cheers have a good one.
You guys have the patience of Job! It’s a slow trail you are walking, but there is light at the end of the tunnel.
Lew/Grand Rapids
90 degree drill for inspection port hole
They make a spray filler that fills those imperfection on your Fiber Glass walls. You use the same hardener you use with Fiber Glass. You sand the same way but you save time applying it. The name is Feather Fill. Try this you probably will like it. It’s an Auto Body product I used it on Fiber Glass Corvettes for the final filler to block out smooth. This sands easier that Body Filler.
Love your channel and cant wait each week for the next video. You both are doing a FANTASTIC job on this project and yet work very well together as a married couple. So nice to see guys! FYI this may already be in the plans but be certain that the pvc pipe ends are reamed so there are no sharp edges, or use elbows for direction through the floor to protect all of that wiring. Are you going to maintain a schematic diagram of your wiring?
Hi Matt, sure you made an error. However, I would be so happy I found it now instead of two months from now.
One reaction I find I'm having (and granted, I'm just watching, you're doing all the work) is that so much has been completed, but because there's so much constructed, what's left feels a little overwhelming. In the beginning when there was nothing, each step (probably because they were such large pieces, too) felt like so much progress. Now with so much done, the details feel like smaller steps and there's more of them. That was just my reaction.
I'm impressed how you two continuously look a couple (or more) steps forward to consider the implications of how to best do things and how is it going to feel or function on the final build.
Glad you're starting to recover from the trip.
Matt a great way to run cables is to put a string on a champagne cork, put a vacuum on one end and suck the cork with string to the vacuum. Then you have a string that you can use to pull cables. Once you start running cables, make sure you always feed a string so that you can pull cables in the future.
I know this is to late, but you can get a 90 degree drive attachment for the drill
Sched 40 is great pipe. It's rigid, and, in order to install it, you can't use full length 1,9m where you[re putting it The distances between bulkheads don't appear to allow you to get the pipe in straight enough so it will fit. You'll have to cut it and use butt connectors to make up the lengths you want. So be sure to cut 90 degree ends, and fair the insides at the ends, and don't use a ton of glue to avoid having the glue mushroom out into the butt connector….
Ahh, it's becoming a pipe dream!
Right angle drill or attachment, no problem.
Right angle drill attachment is $25. Given some of the tight spaces you might need to put a hole in should be a good investment.
On the subject of fairing, I have another couple of tricks: for inside corners, consider applying the compound parallel to the corner, rather than at right angles to it (as others suggested). I would also recommend a hoc and a flexible, flat, spring-steel trowel for flat areas. Never thought about the grooved trowel for the first layer, but it’s a cool idea, if you are willing to put that much compound everywhere.
My trick is to only fill one side of the corner. Load a 6” drywall knife up with filler, and start at one end, pushing the knife hard enough to flex it a little along the smooth surface of the bulkhead, and allowing it lay a consistent layer of filler, 1/8” deep at the inside corner, and tapering to nothing at the outer edge of your knife. (That’s why you flex it a little. It feathers right out to nothing). The second part of the trick is to let that corner harden while you do another one elsewhere. Once it’s hardened, quickly sand any bumps off, and only then fill the opposite face of the corner. I find it easy to get consistent corners with little sanding needed.
You are probably already doing this, but in case you’re not: a bright light shone at the surface from an extreme angle (close to parallel as possible) will show every flaw as you sand, so you don’t have to find them later. I use a 75W incandescent bulb on one of those utility lights with the cage around the front and an aluminum covering around the back. I hold it in one hand while sanding with the other. Loving your project, your work ethic, and deeply impressed with the quality of your work. Thank you.
Have you tried micromesh sand paper? Lasts a long time and does not clog up like regular paper.
Hinge the step above the fuel tank access
BRING BACK THE PUPPIES!!!!!
Så tråkigt med så mycket musik!
Jag antar att man fyller ut med musik, när man inte har något att säga! Lite amerikanskt!
😴😕
I know you are a few weeks ahead so this won't help right now, but for future reference all you needed to do on the step was to drill a small hole (1/2-3/4 inch) through the step directly above the big hole you needed for the fuel tank. Then insert a drill extension through the hole, and connect it to the hole saw underneath the step. Chuck it into the drill above the step and hole saw away. Works like a champ. Keep up the good work, I love the project and think you guys are doing a great job.
Get a r right angle hd. For your drill
We won’t be surprised when you two are the leading cat designers … as Matt said, he’s already planned it all out 😮
I know you will have this in hand however I will suggest something. You will have draw lines in each conduit, can I suggest cutting 2 notches in each end of the conduit, contingencies are always celebrated when you need them, and use braid fishing line ( as heavy you can find) as the draw lines, 2 in each conduit. Strong, light weight, thin and made for marine environment. Love your penchant for forward planning, stepping the conduits for access to the rear most is a genius move, sorry Jess to inflate him so. Cheers T
5:48 skill saw
You guys have so much experience. So much to offer. But Alas, My tickets will remain: Taped to the wall of my kitchen here in New Hampshire. October 13th and October 14th. The weight of time and budget washed away my plans: just taped to the wall. I have researched every nook and cranny of A-Town. Hotel reservations cancelled. I could go on and on. So sorry to miss the hope for that golden conversation ~ on the red carpet so to speak ~. So many super stars. ~. Others may get more "views." ~. But ~. You guys are on the top of my list. There is that Aluminum boat being built in the Netherlands. ~ There is the hope to see a new Rapido 60 trimaran being built in Viet Nam etc. etc. etc. ~ You guys are "putting it together" right there in A-town! Yep! Not gonna lie! ~ Top of my list ~. All the "resin" ~ all the "glass" ~ all the "sandpaper" ~ Wow ~ ✨✨🌸⛵🎶❤🎶⛵🌸✨✨
Right Angle electricians drill my man!
Foam core pvc or abs pipe from a plumbing supply house would be WAY lighter.
Just get a 90 degree drill attachment to drill that hole . Easy
Milwaukee hole hawg.