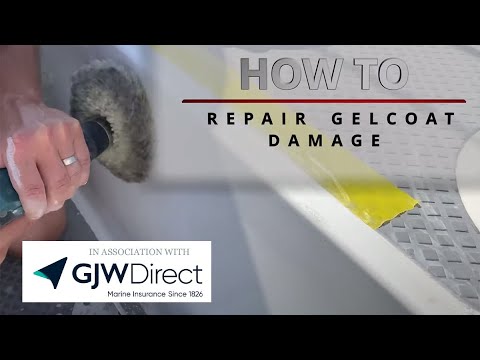
De la frecarea frânghiei pe coames din cabina de pilotaj până la daune de impact după ce mânerul troliului a fost scăpat, așchiile de gelcoat sunt un rezultat inevitabil al oricărei ambarcațiuni care are mile sub chilă. Bruce Jacobs de la Rubicon 3 (www.rubicon3adventure.com) află de la Mark Buckett de la Solent Repairs cum să se ocupe de așchiile de gelcoat și să obțină o suprafață de culoare perfectă. Seria noastră de videoclipuri How To vă este oferită în asociere cu www.gjwdirect.com –- Abonați-vă la canalul de Youtube al Yachting Monthly la: https://www.youtube.com/user/YachtingMonthly/videos Abonați-vă la revistă la: https://www.yachtingmonthly.com/subscriptions/yachting-monthly-subscriptions Citiți mai multe articole de navigație la: https://www.yachtingmonthly.com/ Apreciați pagina noastră de Facebook la: https://www.facebook.com/yachtingmonthlymag / Urmărește-ne pe Twitter la: https://twitter.com/yachtingmonthly Urmărește-ne pe Instagram la: https://www.instagram.com/yachtingmonthlymag/
source
Cum să reparați stratul de gel pe o barcă – Yachting Monthly
18 thoughts on “Cum să reparați stratul de gel pe o barcă – Yachting Monthly”
Comments are closed.

Excellent series. But I wish PPE was being used. Gloves and safety specs are a minimum.
If you wanna something strong and long-lasting protection use Line-X coating
Thanks for this series! Its a really helpful set of hints and tips.
Sorry but I thought that was poor. You could not see the repair areas because they were in shade (why not turn the boat around?!) the guy was vague with his terminology, and just not enough explanation. Yachting Monthly, come on, you can do better. That was minimal effort and it showed.
🤔 experts that don't wear propert PPE?!? HA!
NO EYE & NO MASK
No need to watch anymore 🐃💩
Sorry, not your best video. More close ups required.
Honestly, all these prima donna's with the PPE and comments about lighting… this is FREE content and about 0.01% of boat owners are going to suit up with gloves, eye protection and masks for a repair like that. I thought this was quite well done, very well explained and whether or not you could easily see the repair actually depended on how well the repair was done – very well. You idiots are going to have Yachting Monthly not bother to do these types of videos in the future.
All these knobs going on about PPE do not know what they are talking about . It’s risk assessment and I’m sure this guy knows more about what risk he is at than you do.
People like you will make people not want to bother making this type of content and your presents here among us is not required nor wanted so just go and do one ☝️
Interesting, but not really complete. For instance when rubbing down the gelcoat final coat, what grit? Going up through the grades, or just the top. Rather than a DIY instruction, it’s more “this is why you need an expert”.
nice job but you keep saying the word “obviously”. If its obvious, do you need to say it?
Really Helpful thanks
Did you use waxed or unwaxed gel coat?
You forgot about cleaning first with solvent
Could you please provide a list of the products you used? I'm a total newbie and it would be nice to be able to read a little about each of the products to help with my education before purchasing them and trying this on my boat.
Author not replying to comments gets a thumbs down.
as an ex pro I have a word of warning; it is not nearly as easy as it may seem. A trick for matching gelcoat; when you put you drop of matched gelcoat on, sprinkle a tiny bit of water around and put on a piece of celophane, like the one on cigarette packs. This will stick to the area and give the test drop and the surrounding area the same sheen, making it easier to judge the colour match. Also, when sanding the filler, do go below the existing gelcoat level on the filler, otherwise your repair will be a bump and be standing out like sore thumb. Half a milimeter to a milimeter is good. In some cases, like on horizontal or slighlty inclined surfaces it is possible to skip the filler step and use gelcoat only. Gelcoat is thixotropic, so it will not run easily. Don't do the repair in direct sunlight. It is hard to judge the colour match and sun heat speeds up gel times.
Were the final layers waxed? Did you sand between layers?
Amazing how little color it took to match.