Zărâmând interiorul acestei bărci abandonate. Începutul unui nou capitol | PĂSĂRĂ DE MARE SAILING Ep. 48 VA MULȚUMESC FOARTE tuturor oamenilor generoși care folosesc linkurile de mai jos: *Ko-fi* – https://ko-fi.com/sailingseabird *PayPal* – https://www.paypal.me/sailingwayzgoose *Patreon * – https://patreon.com/SailingSeabird *Lista de dorințe Amazon* – https://www.amazon.fr/hz/wishlist/ls/14DOHERKUB66T?ref_=wl_share Ne puteți urmări și pe: *Facebook* – https: //www.facebook.com/SailingSeabird *Instagram* – https://www.instagram.com/___sailingseabird___/ Întrebări de afaceri: sailingseabird@mail.com Nu uitați să dați like, abonați-vă și dați clic pe clopoțelul de notificare dacă doriți urmati aceasta aventura! Hammock Fight de Kevin MacLeod este licențiat sub o licență Creative Commons Attribution 4.0. https://creativecommons.org/licenses/by/4.0/ Sursa: http://incompetech.com/music/royalty-free/index.html?isrc=USUAN1100213 Artist: http://incompetech.com/ Vă mulțumim, Stuart & Marina & Seabird
source
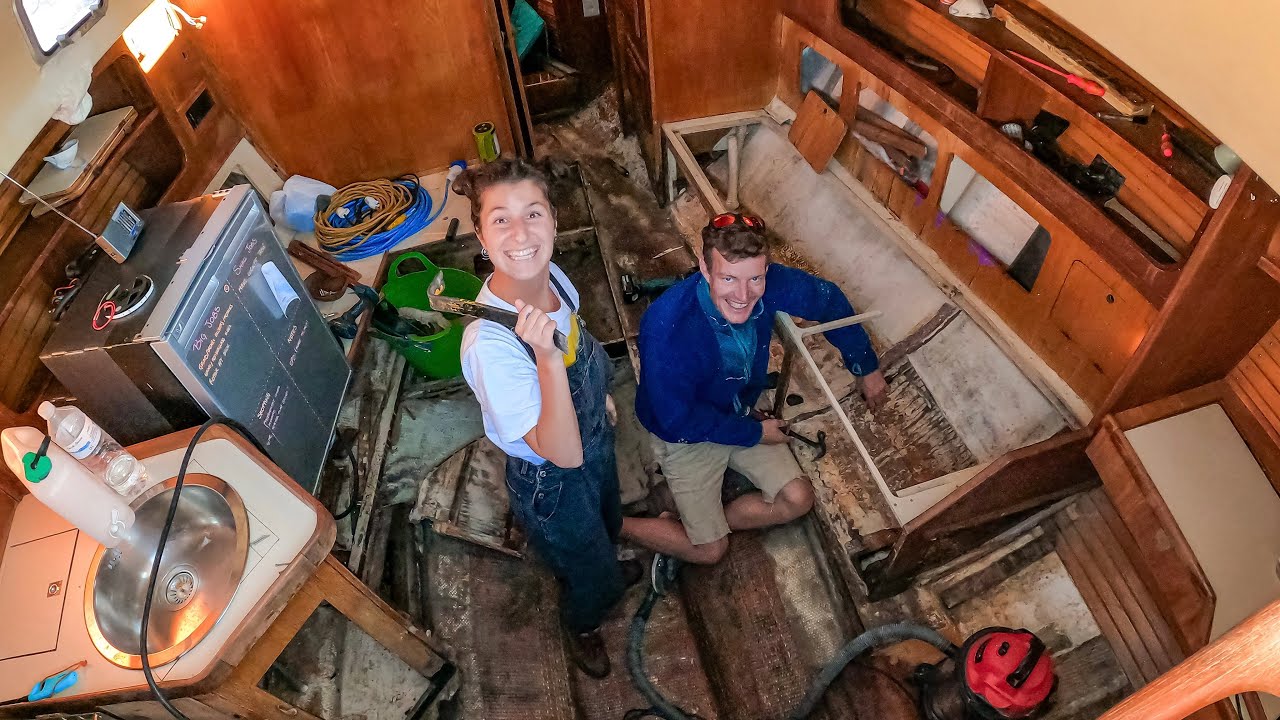
Zărâmând interiorul acestei bărci abandonate. Începutul unui nou capitol | PĂSĂRĂ DE MARE SAILING Ep. 48
43 thoughts on “Zărâmând interiorul acestei bărci abandonate. Începutul unui nou capitol | PĂSĂRĂ DE MARE SAILING Ep. 48”
Comments are closed.


Bare hull! The only way to go! You can't be wrong with that!
I make a template for the stringer (for everything actually) by stapling thin strips of plywood of 3mm thick and 5 cm wide together in the shape of the bottom of the boat. This won't give you exactly the shape the stringer should have, but you will get it almost. Herblay63 advises more or less the same.
Buy a sheet of door skin. Rip it into 2" strips. Get a hot melt glue gun. Cut the strips to fit across the beam in two or three places, depending on the depth of the bilge. Make sure the ends are pointed and the points contact the bilge where you need them to. Cut strips with pointed ends to glue vertically with the points touching the curve of the bilge. Lay the template on the plywood and mark the points. String a batten along the points. Mark a line along the batten. Cut your template. Perfect fit every time. As to color, I like a semi-gloss white with the natural wood trim varnished. The contrast is nice and with the natural wood and white it provides a warm, nautical environment.
I watch several boat channels. I really enjoy this one. As far as the structural parts. I feel you are doing right with the stringers. They need to be tough. Better than going back and redoing at a later time because you didn’t reinforce the way you are I think a good coat of paint to the interior will make you happier after you finish all of your work.
Sanding paradise !
I'm not keen on the paint. If it was me, I would give up on the white wash and go for solid white (or another colour maybe light grey ) paint on the flat walls and keep the wood on the strips as a contrast.
I would also soak the top of the stringer with thin expoxy so that it gets into the exposed laminates of the plywood.
6:25 : Nitwits like me think 'Oh dear! What now?!'
Stu calmy reacts "It'll be fine. Just one step at a time".
Words to live by.
Stringers look fine to me. Too solid, no problem, not solid enough, you'd find out the hard way.
Some goodies are on their way. Amazon says delivery by December 6th, we'll see.
Happy Holidays! As your taste in decorations I am fine if you are happy. As to the 😢 dust from fiberglass please don’t be casual about the danger to your health. Please remove all the dust as soon as possible. Respiratory track infection is NOT what you want, speaking from experience! All the best. Robin
you guys need to have a lot more confident in what you are doing it's not difficult it only becomes difficult when you are unsure of what you are doing there is two much help and videos that can show you how to do it properly also reach out to the other YouTubers that are way ahead in their rebuild they already made all the mistake they can also guide you guys
You two are an inspiration to us all. You work well together and I love the can do attitude. My humble NZ opinions. Hi-gloss walls will brighten the spaces and be easier to wipe clean. Cardboard templates always worked for me. Check that the cradle pads do not distort the hull inwards when the old frames are cut out. Once the new frames are glued in, Thats the shape of the hull. When glueing in the new frames, brush all the edges with unthickened resin to seal them before the thick glue is applied. Plywood will wick up water very quickly especially in the bilge area.
Template: we use the spline and cardboard method. Great job. thought grey looked OK and the double plywood stringer should be extra strong. Stew, your a marvel with the sander.
Good job
Good episode, thank you.If you find out good method for template, can you show it on next video.
Keep doing the good work. Great vibes from you two.
I would paint it all white u have to live in there full time and the wood is far too dark and depressing
There are so many ads in this episode that it is unwatchable which is a great shame as I really enjoy the channel
Coat all the surfaces with epoxy to seal the wood then glue together with epoxy. then fiberglass all the stringers to make a solid base. and do this with bulkheads to make a strong and stable boat. you can use this system to do all your cabinets so they are protected from moisture. and you can either paint or stain the epoxy what ever way you desire
love your project one thing remember to close the pours of the plywood it would be better do that before you glue it in keep up the good work
Look up ‘joggle sticks’. Made all the bulkheads for Dad’s boat with them
not so sure about the balsa, I think I would have just used epoxy filler but hey, I am not a pro 🙂 I have also moved away from marine ply. The outdoor impregnated stuff (green coloured) is what I use now. The surface is rougher but for frames like you are doing, it would be fine. (stringers are fore and aft) Oh and there is no such thing as too solid, though of course all the strength ends up being in the tabbing anyway but the extra width does help with the stiffness at the top.
I would apply some resin on Your "stringers'" playwood before installing.
Just soak it using paint brush, to make it waterproof all around.
Its a bilge, so water will be there at some point.
In case of future delamination or cracking, the ply will be more protected.
Good to do this on every wooden framing in your new floor, cabinets, settees etc
Greetings from Poland!
So much work, you guys are doing great. Looking forward to seeing the stringers matted in.
Doing a fantastic job, get another multi tool, they are invaluable on a boat, good luck!
Love the way you introduce and close each episode so welcoming and kind so many utubers become single minded and over the top and false you keep it real as always love the fact you give everything a good bash 💯 percent this is why your Chanel is succeeding 😊
Balsa has next to zero structural value! Only use it as insulation above the water line if you have to (there's better insulation). Cut the "Ribs" to match the hull, and position them with thickened epoxy then tab to the hull while still tacky. Bond two pieces of plywood together with thickened epoxy, clamp, dry, then cover with a layer of fiberglass.
I think they are evil
Knievil gloves? That’s a tester for you younger guys. Definitely getting there.
Hey its looking good, can't wait to see the new stringer. It seems very strong does it have to hold up the flooring? I guess its better more solid then, but with enough flex when the boat is a float. Definitely white for the painting – its cleaner and will show up any problems if they occur – like leaks etc. Plus if you have to look down under different places it will reflect the light a little to hard to see places. Good luck keep going. Poor Stu – he loves his sanding and grinding. You can do it!!
Use thin furring strips (like paint stir sticks) and a hot glue gun for creating templates.
Don’t worry too much in getting an exact fit on the shape of your replacement floor. Small gaps filled with epoxy is more than good enough. Some would say that a small gap is better as it prevents hard spots and potentially places that would delaminate in the future.
Have a look at Sampson Boat Co for how to make a template – essentially you can use battens to make reference dimensions to create the master shape, you can then make small adjustments to achieve the final fit.
Please dont forget to leave a drain hole at the base of the stringer/rib so that any water can flow through the bilge!
The supports in the floor are called floors and sole is what you walk on. Don’t ask me why it is.
I hope you sealed that plywood stringer with epoxy before fixing them together, including sealing the cut ends, especially those down on the bilge floor and water passway.
Good work, both of you !!!!
Keep up the good work. I have seen Styrofoam and paper templates. I think what you did will work. Tabbing it all in will add the good bit of strength.
Great job, makes me want a do er upper 🤗
Hi you peeps.
I did cardboard templates (Vitamin Sea) for everything from trailer bunk. Design to boat flooring
Re wall panels I'd fine sand that light white wash and varnish for depth.
With the approach you are taking to fibre glassing and strength you will be fine. Just assume it's going to be pulled from every angle whilst sailing and build it to be as rigid as possible but taking care to engineer out right angles and use curves as joints as a standard. Angles fracture, curves flex.
You are indeed inspirational…hurry up😂.
Nick and Cate..
Nick
If you are going to glass over the stringer, round of the edges. I painted my bulkheads in the 90,s and never regrated it as maintenance was easy and it did lighten up the boat and accentuated the wood trim
Sailing wave rover shows you how to make templates on his channel. Basically put them together bit by bit with a hot glue gun.
I've got a nice finish before using liming wax, which is a white wax. It will go into the grain. Gives a kind of washed-out driftwood kind of look. You can use a brass wire brush to pull out some of the grain beforehand to make the look more pronounced.
Good job so far!
Others may have suggested this but here goes anyway:
You can use a cheap pencil compass/ protractor and scribe the edge onto the cardboard with a bit more control than your ruler and felt pen.
Or, make a templet with door skin pieces 1/16" thick, or stiff cardboard and hot glue connected each piece to the next following the bottom contour .
Seal the wood with epoxy prior to joining them esp. the bottom side
Thanks!
I really enjoy your programme love from South Africa.
Youre 2 awesome people
Ha ha, pretty cold….i would call that F-ing cold. Well I do live in a tropical area! But we do have a cyclone coming!! Ahhh